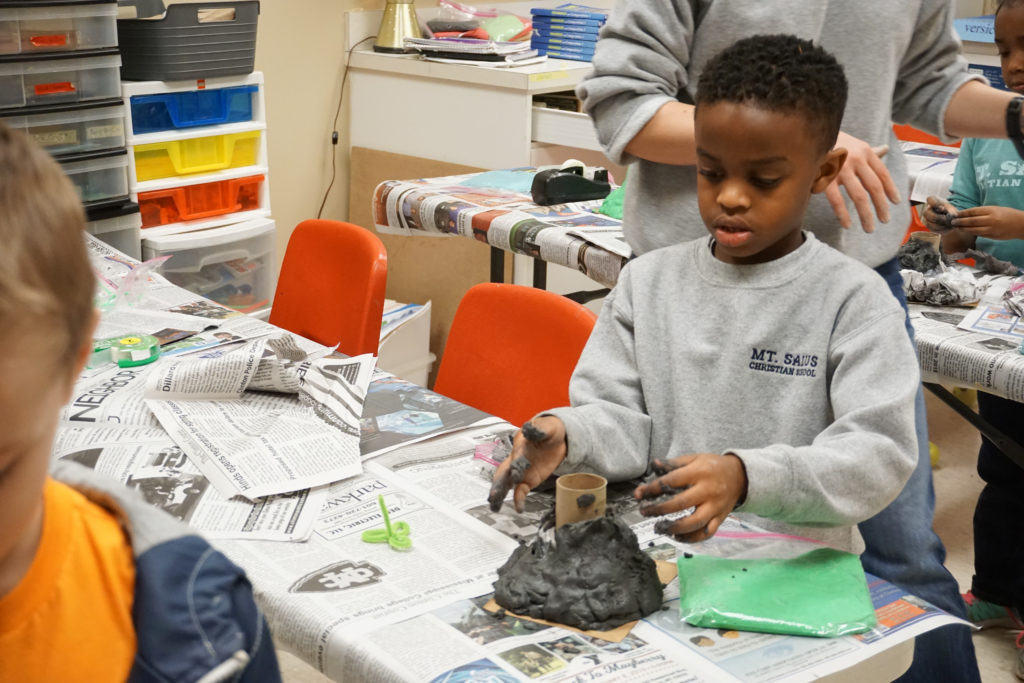
Since returning from Christmas break, our K3/K4, and 1st-4th grade STEAM classes have focused on Volcanoes. The students studied various types of volcanoes, structures, and the causes and process of eruption. Each grade was presented with a challenge: create a working volcano.
Our older students (2nd-4th grades) had an additional requirement for their volcanoes-design a volcano that simulates a natural eruption, via the movement of tectonic plates.
Each student designed a specific topography for their volcano (based on geographic location).After spending time designing their volcanoes, the students used 100% biodegradable materials to complete their construction. Students used their own unique perspectives to add a personal twist to their designs! Class volcanoes were then erupted using the chemical reaction produced by mixing baking soda and vinegar.
Want to try this project at home? Follow the steps bellow!
Step 1: Design your volcano.
Have your child draw out a rough design of the volcano they would like to build. When designing your volcano, there are two main components that your volcano needs in order to successfully erupt. Those components are a strong base, and a vent. The vent is especially important as it will hold and spew “lava”. When building your base we suggest using a firm piece of cardboard. A cardboard tube or plastic bottle will serve as a sturdy vent.
Encourage your child to be creative during this step. Do they want a tall, skinny volcano or a short and round one? Is their volcano in the ocean or on island? Are there animals or plantlife that live or grow near their volcano? These are all elements that will help your child engage their imaginations and learn how to solve creative problems.
The other great thing about this project is that you can build it out of recycled materials from home! This project serves as a great opportunity to teach your child about recycling as well.
Step 2: Form your volcano.
Once the main components are in place, cover them with “volca-dough”. The “volca-dough” will allow you to form the actual volcano shape. See recipe below for how to make “volca-dough”. Allow your volcano to dry overnight before moving on to step 3.
Step 3: Erupt your volcano.
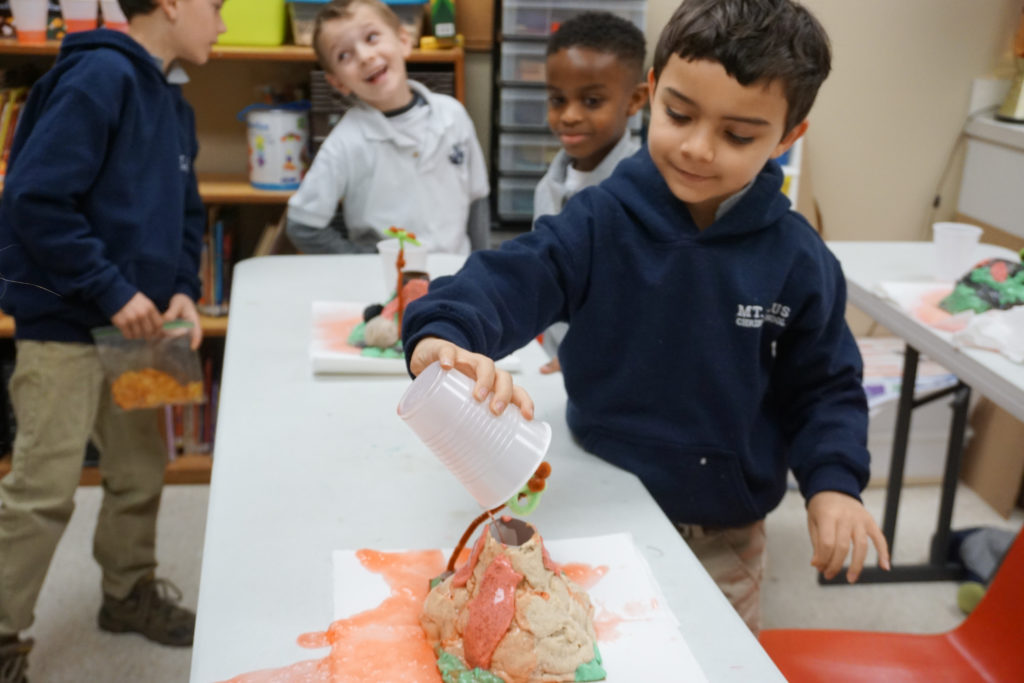
Now comes the most fun part-erupting the volcano! Pour one tablespoon of baking soda into your volcano before adding one cup of vinegar. When you are ready to erupt your volcano, pour in the vinegar! For a little extra flair, add your favorite color of food coloring to dye your lava.

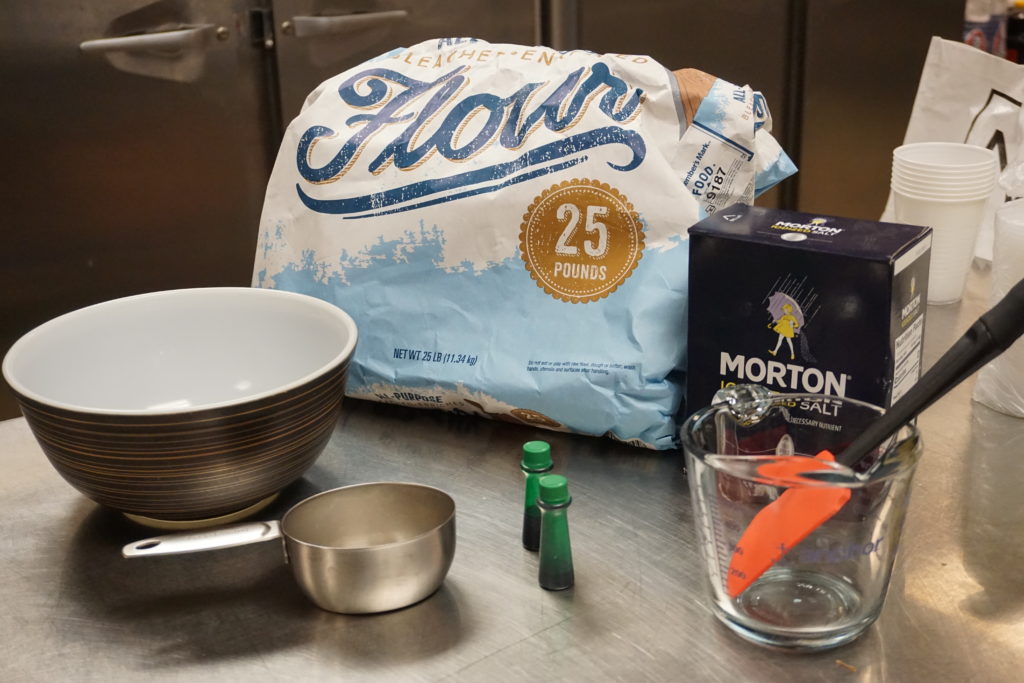
Volca-dough Recipe
2 cups all purpose flour
1 cup table salt
1 cup warm water
Food coloring or washable paint
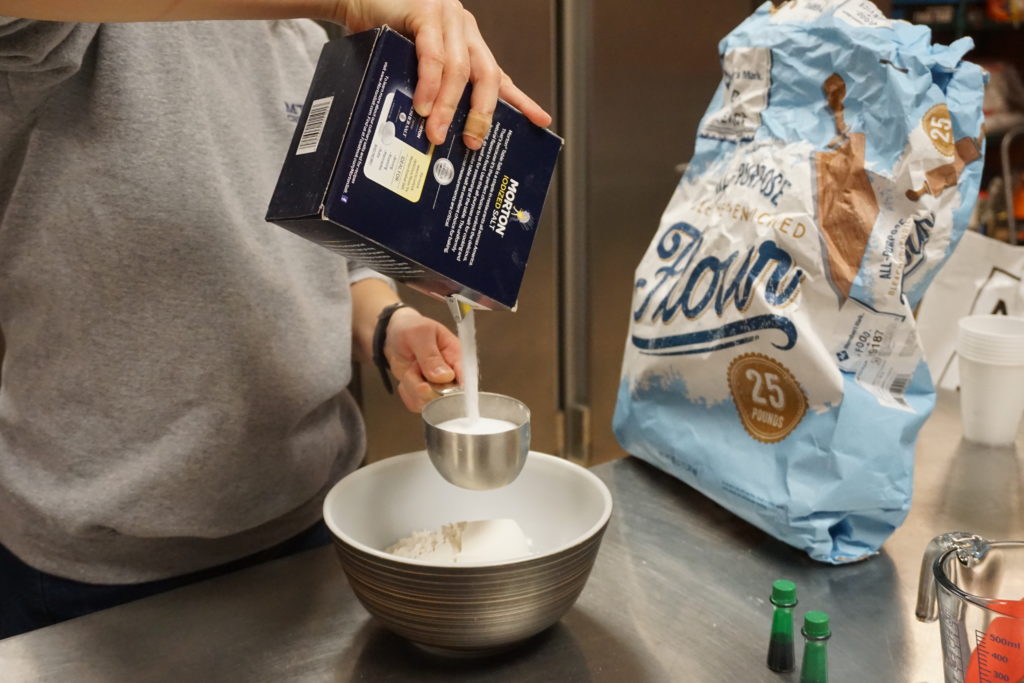
Step 1: Mix flour and salt together and set aside.
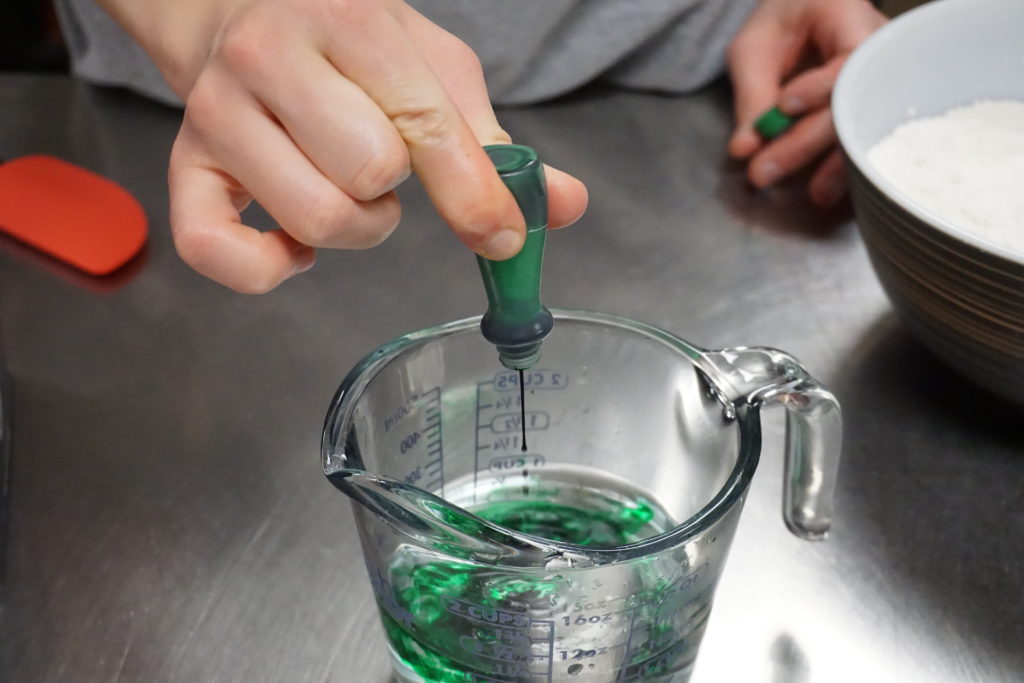
Step 2: Gently stir coloring into warm water until a slightly darker color than desired is achieved.
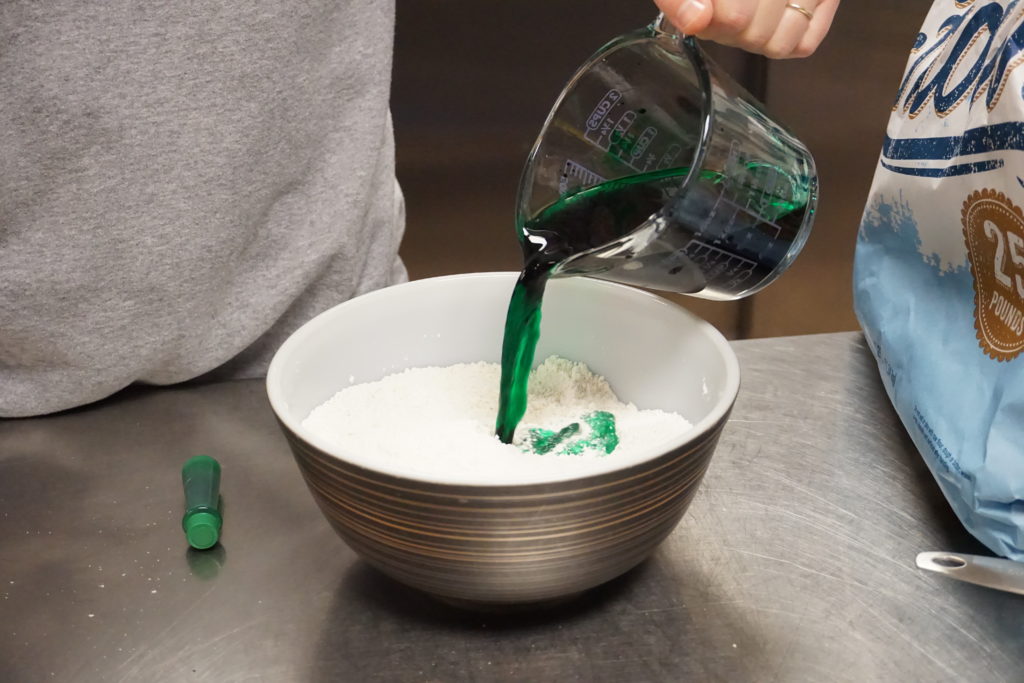
Step 3: Pour water mixture into flour mixture. Fold batter unit completely combined.
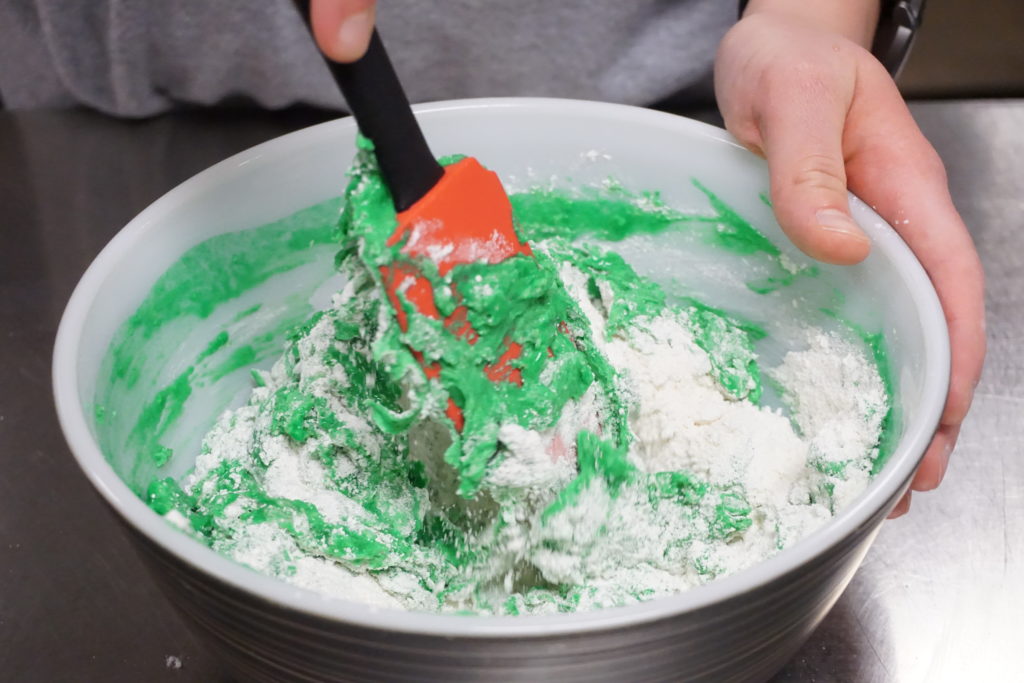
Step 4: Sprinkle flour over mixed volcadough. Gently kneed (adding flour as needed) until all mixture is gone. Note that volcadough should be fluffy, but not dry.
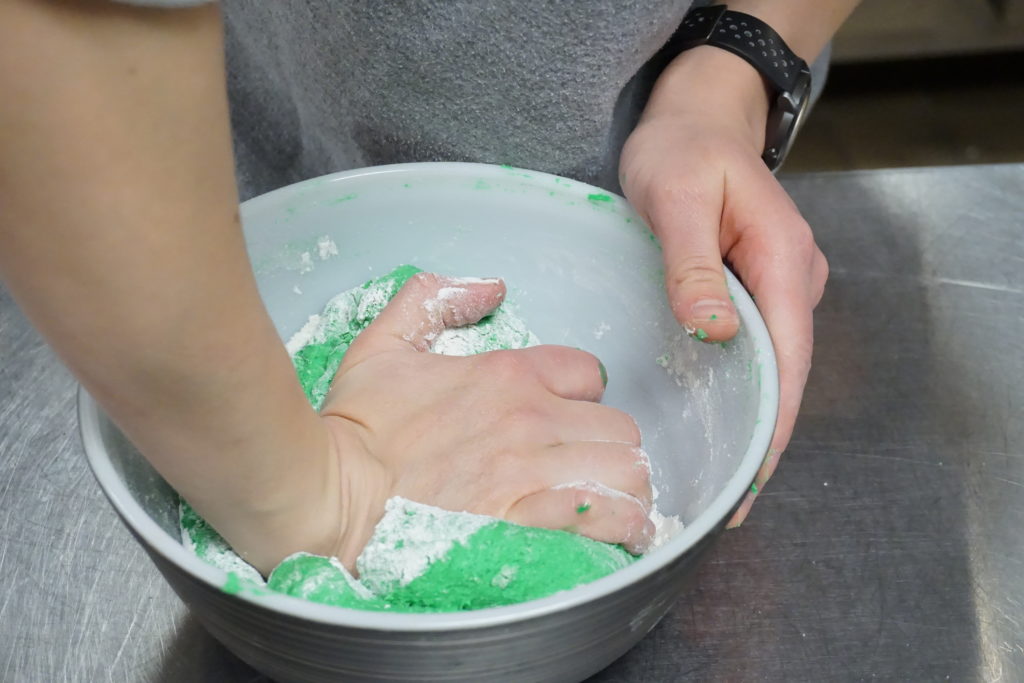
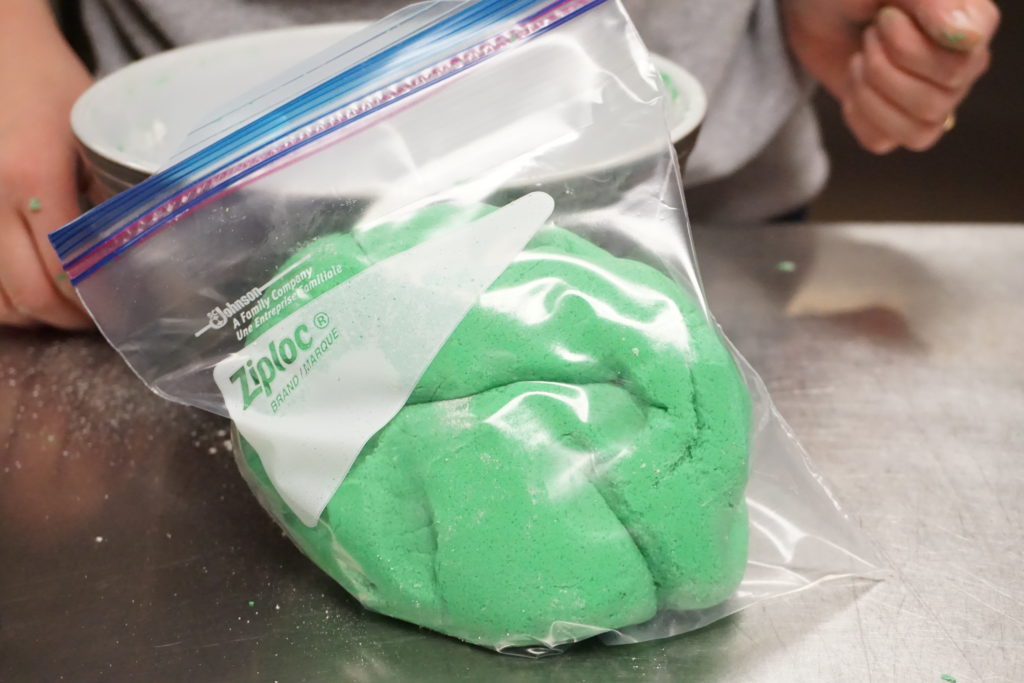
Step 5: Place volcadough in a plastic bag until ready to use.
